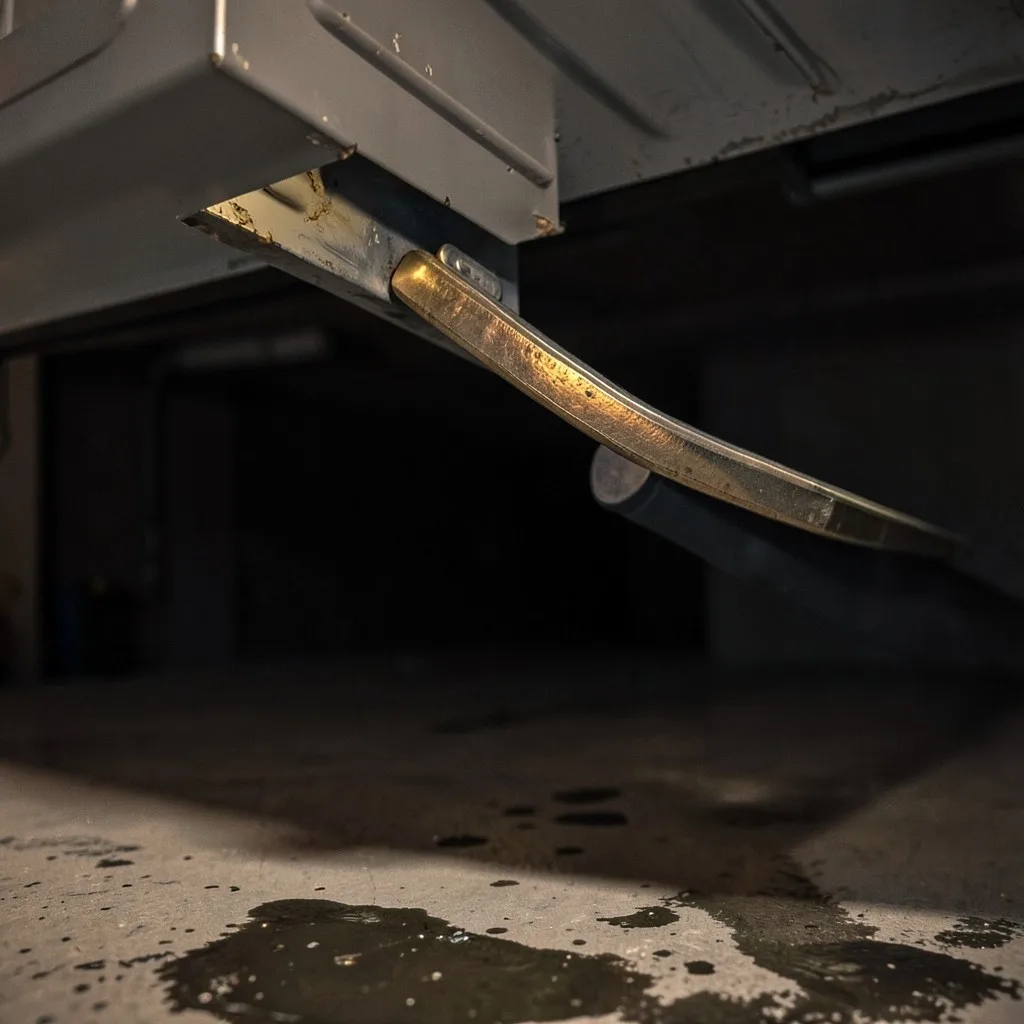
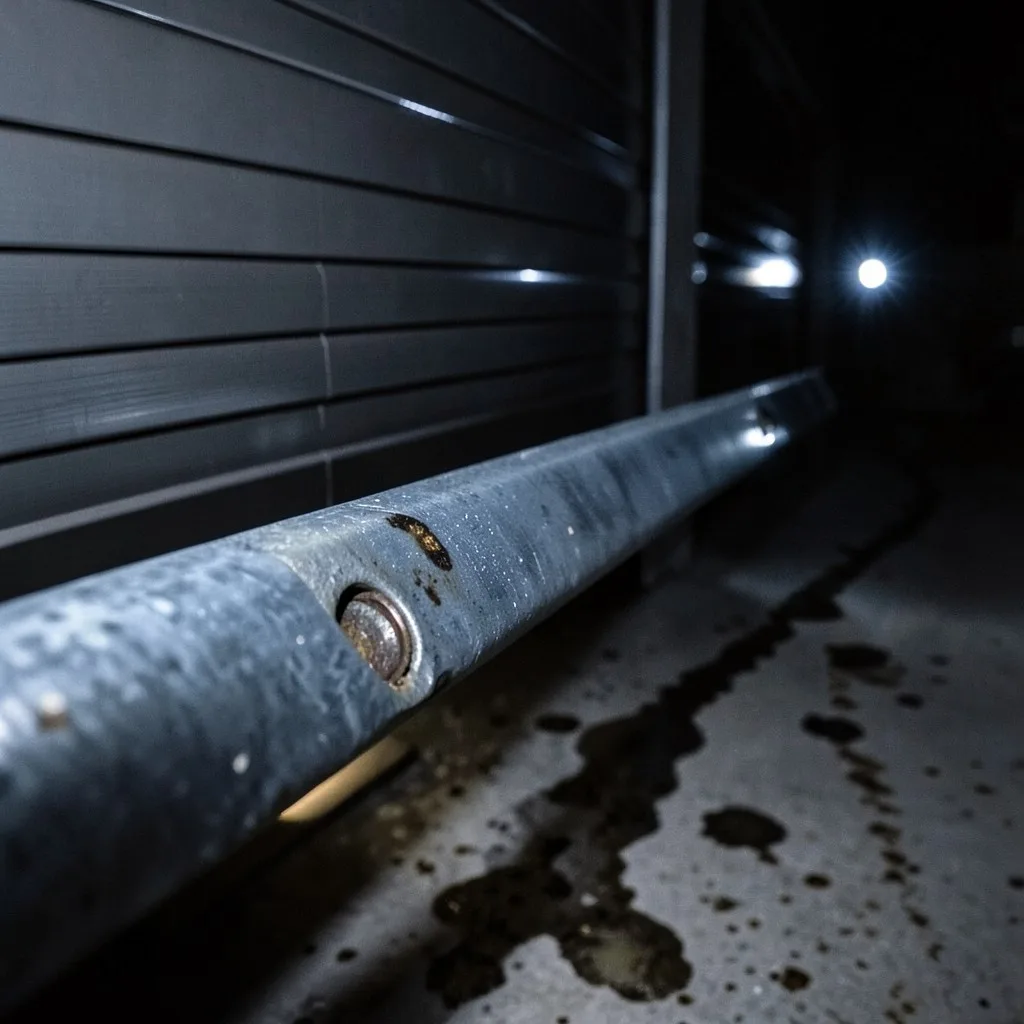
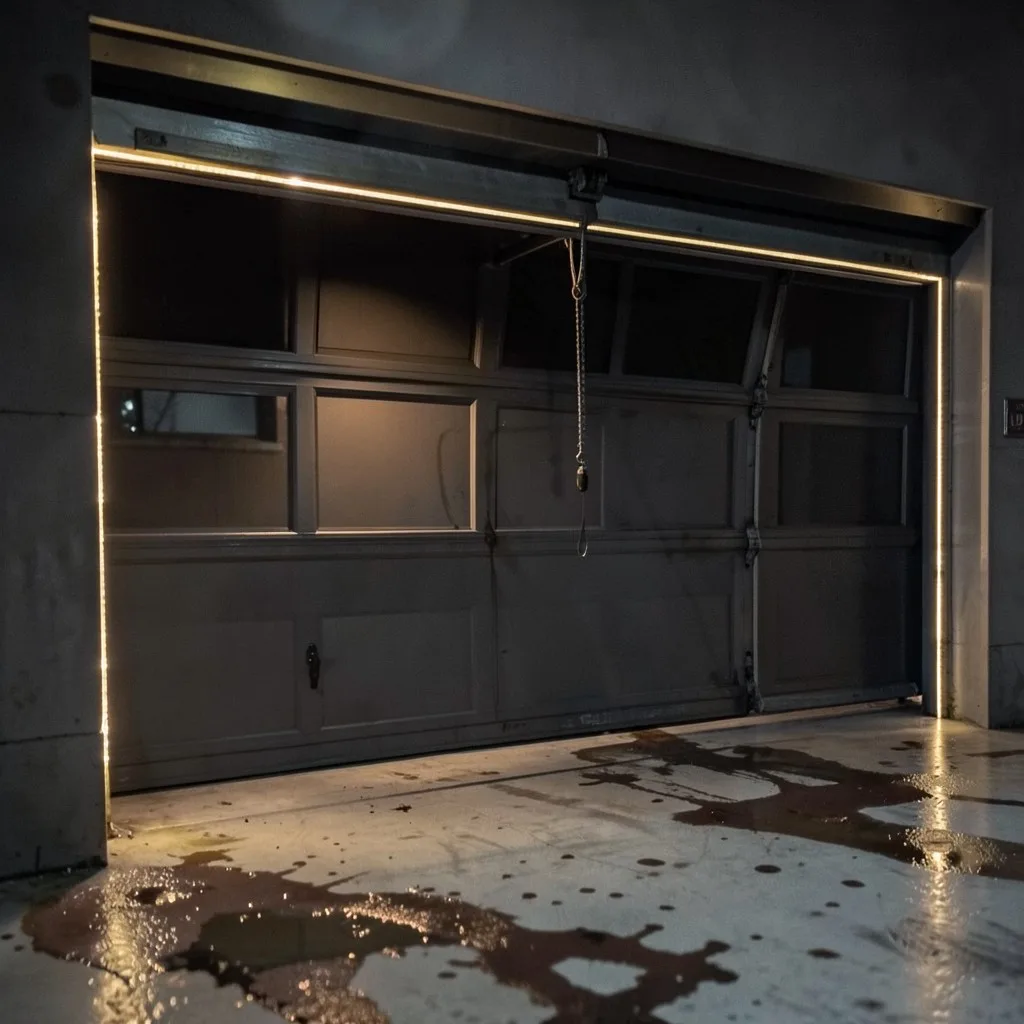
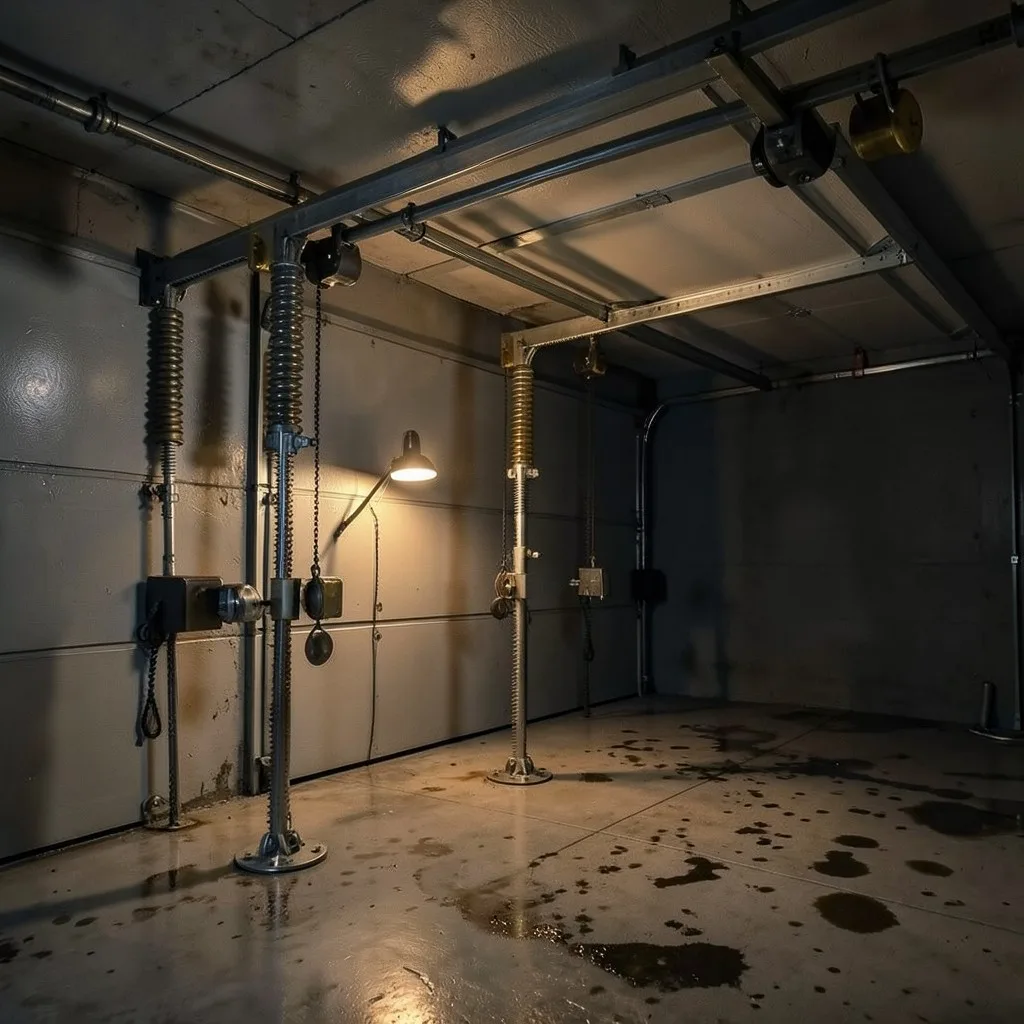
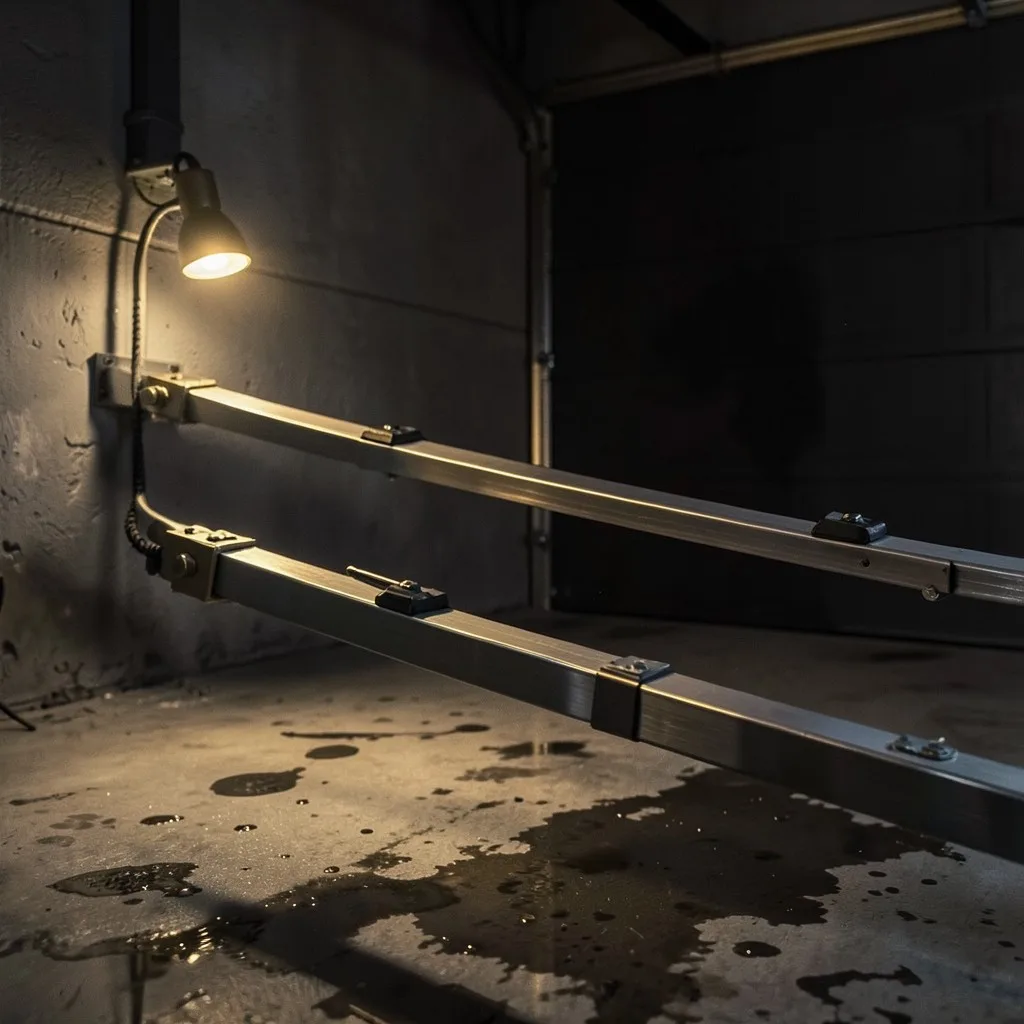
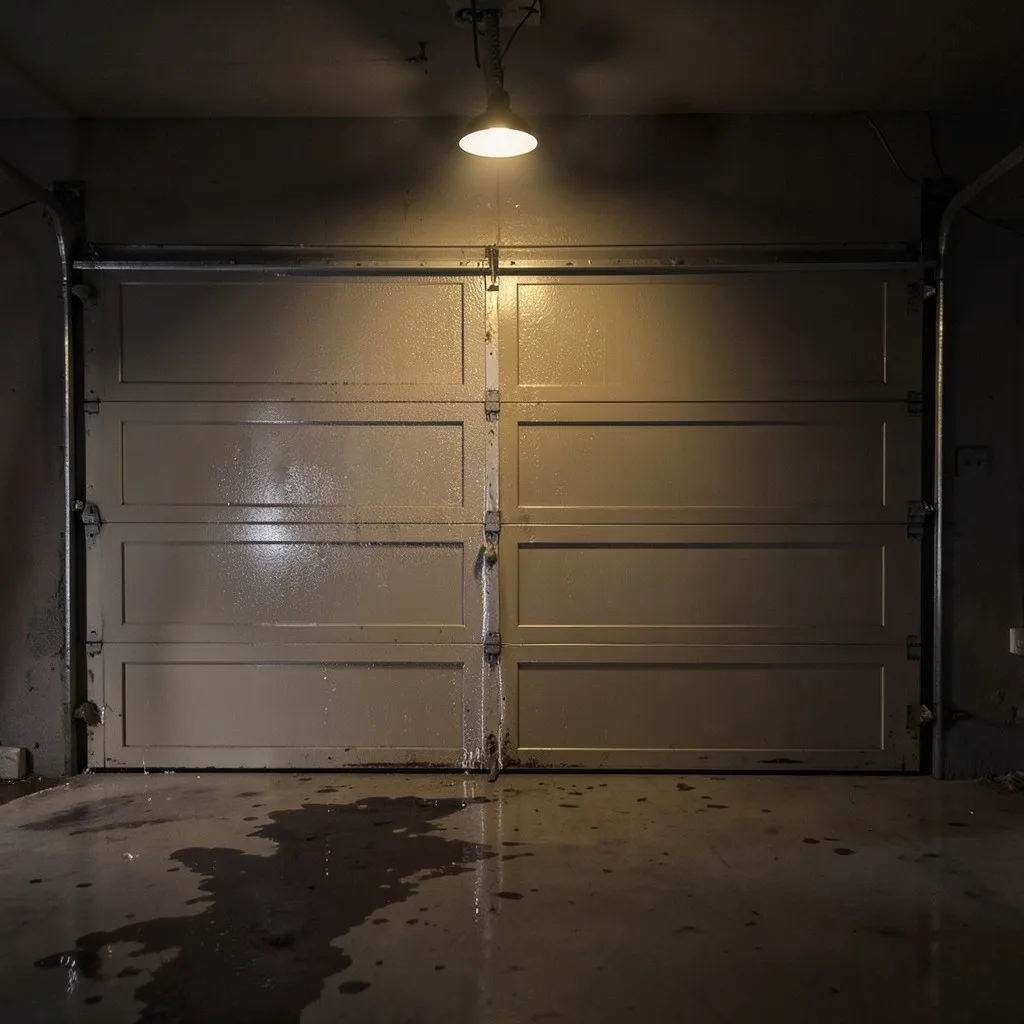
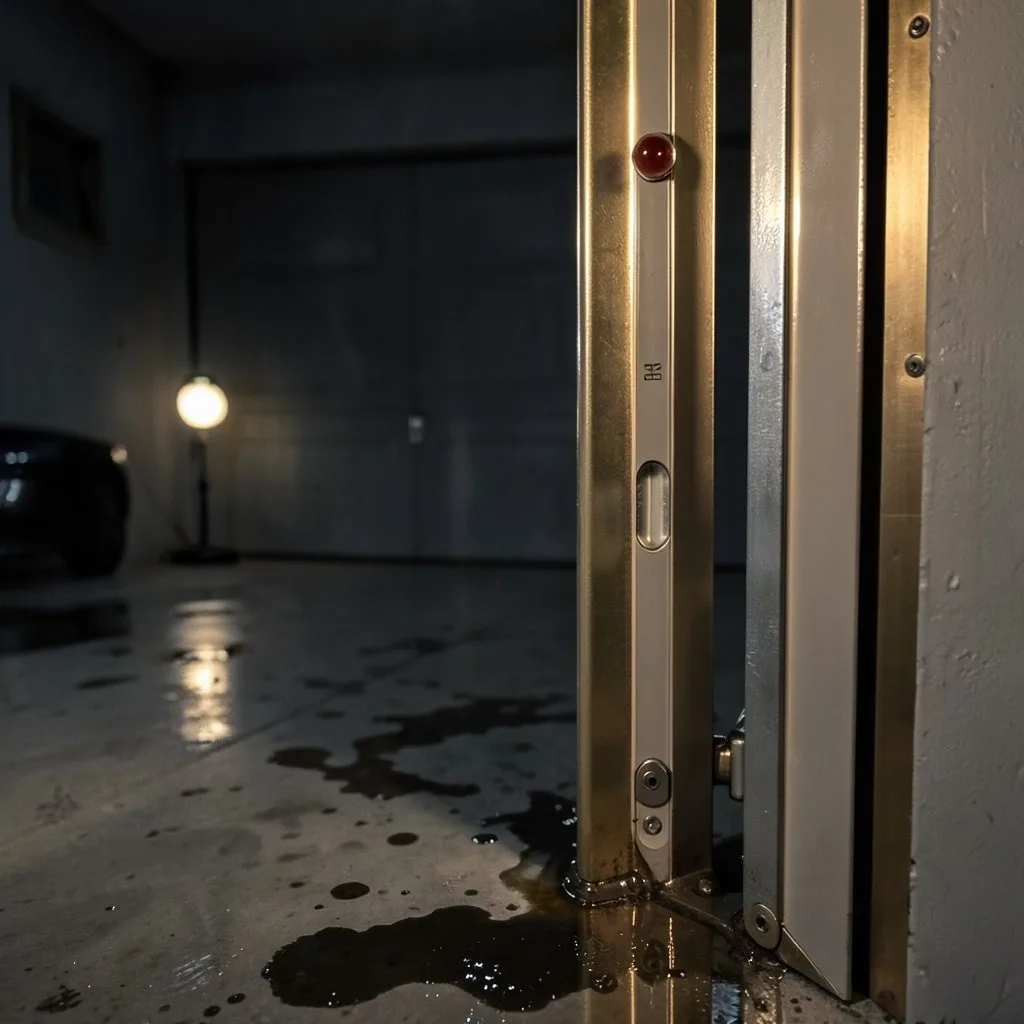
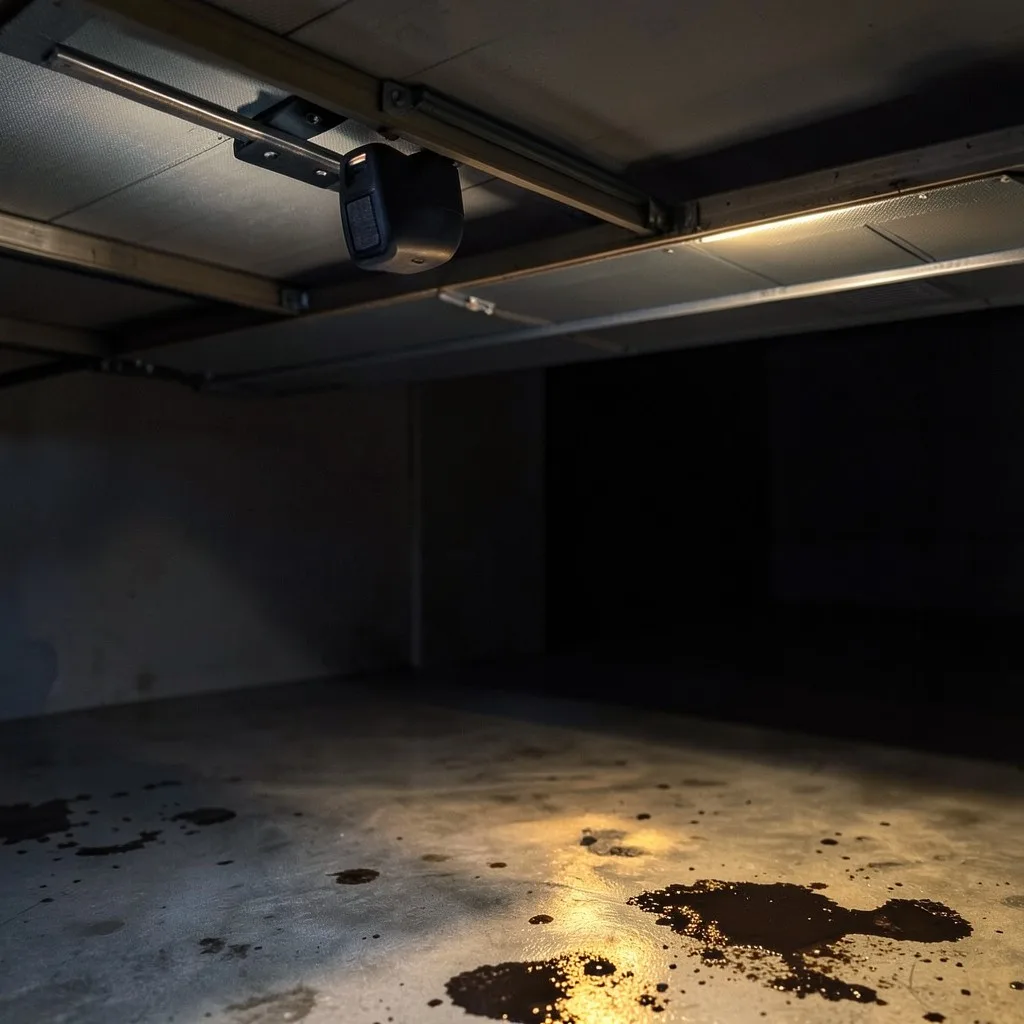
Less than most people assume — and that is by design. The rollers ride INSIDE a C-shaped rail with deliberate clearance: tracks guide the door, they do not grip it. What keeps ten wheels captive is geometry, not force — rails set to precise gauge and plumb, rollers held at engineered offsets by their numbered hinges, and a counterbalance lifting both corners evenly so the door never loads its guides diagonally. The system is stable exactly as long as every part respects the geometry.
A jump is what it looks like when one part stops respecting it. An impact springs the rail past the clearance; a slack-cable event drops one corner and racks the door diagonal; loosening anchors let the gauge spread until the clearance becomes an exit. Once a single roller escapes, its load lands on the neighbours at angles the rail cannot hold, and each cycle walks more wheels out — which is why the off-track failure cascades and why the no-more-cycles rule is absolute.
The recovery, properly done, is geometry restoration: cause named, rollers re-seated with the door supported, rails re-set to gauge and plumb, anchors into sound wood, balance proven. Done that way, nothing about the event weakens the door — steel rails have no memory of a jump the way a creased panel does. Done partially — the roller pushed back into a still-spread rail — the door keeps a standing appointment with the same failure.
// TERMS THAT DECODE THE QUOTE
Track gauge
The engineered spacing between the two rails, held within small tolerance along the whole travel — the geometry that keeps rollers captive.
Racking
The door running diagonal in its opening because one side lifts later or lower — the classic pre-jump state, usually a cable or gauge fault.
Re-seating
Returning escaped rollers to the rail one station at a time with the door supported and tension controlled — the core of the recovery visit.