
Programming a Garage Door Opener, Start to Finish
Every modern opener programs the same way: press the Learn button on the motor unit, then press the remote or keypad button within 30 seconds — the opener light flashes to confirm. Resetting, erasing lost remotes and changing keypad codes all run through that same button. Brand specifics, keypads, car buttons and the failure cases are all below.
// THE NUMBERS UP FRONT
How do you program a handheld remote?
The universal sequence — brand differences are only in where the Learn button hides and what colour it is.
Find the Learn button on the motor unit
Ladder up to the motor head on the ceiling. The button lives behind the light lens or on the back panel near the antenna: a coloured square (red/orange, purple, yellow or green on the biggest brands). Note the colour — it identifies the radio generation and therefore which remotes can pair at all.
Press and release — do not hold
A short press starts the roughly 30-second learn window (an LED near the button lights or blinks). Holding it 6+ seconds does something very different: it erases every paired device. Short press to add; long hold to wipe.
Press the remote button within the window
One firm press on the remote button you want to use. The opener confirms — the courtesy light flashes once or twice, or you hear two clicks from the unit. That is the handshake; the remote is paired.
Test from a real distance
Stand where you would actually use it — the driveway, not under the motor. If it works at the door but not at distance, the pairing is fine and you have a range problem: fresh battery, antenna wire hanging free, and swap any LED bulb in the opener socket (ballast noise from cheap LEDs jams the receiver).
Repeat per button, per remote
Each remote button pairs separately (so one remote can run two doors), and each additional remote runs the same sequence. There is no practical limit worth worrying about on modern units.
Where is the Learn button on each brand?
The same logic under different plastic. Colours refer to the most common generations in service.
| Brand family | Learn button location | Colour clue | Wipe-all gesture |
|---|---|---|---|
| Chamberlain / LiftMaster / Craftsman | behind the light lens or back panel | red-orange, purple, yellow (generation marker) | hold ~6s until LED dies |
| Genie | under the light cover, near antenna | usually a small square + LED | hold ~10s |
| Linear | side or back of head unit | often labelled LEARN/SMART | hold until LED out |
| Marantec | rear panel | labelled, with indicator | per manual — long hold |
| Wayne Dalton (wall units) | on the wall-mount unit itself | labelled PROG | long hold |
| Overhead Door (Genie-family radios) | under light cover | square + LED | hold ~10s |
How do you program the wireless keypad?
Pick the code before you climb
Four digits you can remember that are not the house number, a birth year, or 1234. You will enter it during the pairing window, so have it decided.
Enter the code, then ENTER, then Learn
The common modern sequence: type the new code on the keypad, press ENTER (or # on some brands), then press the opener’s Learn button — or Learn first, then code + ENTER, depending on brand generation. One order or the other completes it; both take under a minute.
Confirm with a full open-close
Enter the code and run the door both directions from the keypad. Some keypads also support a temporary guest code — worth setting for dog-walkers and deliveries instead of sharing the master.
Change it on a schedule, not a breach
Codes leak by shoulder-surfing and by moving trucks. Changing the keypad code takes ninety seconds once you have done it once — treat it like changing smoke-alarm batteries.
Why won’t it program? The failure cases, ranked
When the sequence is right and the pairing still fails, it is one of these — in this order.
Lock switch engaged
The wall console’s lock/vacation switch blocks all radio inputs while the wired button keeps working. The everything-died-at-once signature. Toggle it off and retry.
Wrong radio generation
A remote must match the opener’s radio era — the Learn-button colour is the compatibility key on major brands. Universal remotes solve most mismatches; pre-rolling-code units are worth replacing instead.
Window expired
Thirty seconds goes fast on a ladder. Press Learn again and have the remote already in hand — the handshake needs the button press inside the window.
Dead remote battery
Coin cells ship half-dead more often than deserved. If the remote LED is dim or absent when pressed, replace the battery before blaming anything else.
LED bulb interference
Cheap LED bulbs in the opener socket emit radio hash that can jam pairing and range alike. Test with the bulb removed; buy garage-door-rated bulbs if it was the culprit.
Receiver failing
Pairs then forgets, or no response to the Learn press at all — electronics, not procedure. On supported models a board or receiver swap is an affordable bench repair for a licensed pro.
What’s safe here — and what still isn’t?
Programming is genuinely homeowner territory. The line sits exactly where it always sits.
And if the door opens BY ITSELF?
The phantom-operation family — programming-adjacent, occasionally serious.
A stuck or shorted button
A wall button pinched by a staple, a remote crushed in a junk drawer, a keypad with a swollen battery — constant-transmit inputs open doors at 3am. Pull remote batteries one at a time to isolate.
A neighbour’s legacy overlap
Fixed-code DIP-switch systems could genuinely collide with a neighbour’s remote. If a phantom-opening door predates rolling code, this is one more reason it has earned retirement.
Stray HomeLink enrolments
Sold a car without wiping its buttons? It still opens your garage. The opener-side memory wipe (hold Learn 6–10s) plus re-pairing your devices closes the hole from your end.
After the wipe, still phantom?
A board that self-triggers after a full memory wipe and fresh pairing is faulting internally — retire it from service and book the bench visit. Phantom operation is the one symptom never to live with.
Every reset in one place — which one do you actually need?
The word “reset” covers five different operations. Match yours before pressing anything.
| You want to… | The operation | How |
|---|---|---|
| Add one remote or keypad | pair | short Learn press + device button in 30s |
| Kill a LOST remote | wipe all, re-add survivors | hold Learn 6–10s, then re-pair each |
| Change the keypad code | keypad reprogram | current code + PROG + new, or wipe & fresh-pair |
| Fix scrambled travel after an outage | limit relearn | many units self-relearn; else pro calibration |
| Factory-fresh everything | full reset | per manual — then re-pair every device |
| Un-teach a sold car | wipe the CAR | hold its outer HomeLink buttons ~10s |
| Nothing responds to Learn at all | not a reset | receiver/board fault — bench repair |
Wi-Fi and app-connected openers — same buttons, extra layer
The radio still rules
App-connected units keep the same Learn-button radio underneath — every procedure on this page works unchanged. The app is an ADDITIONAL control path, not a replacement for the handshake.
Two pairings, two failures
A remote that stopped working is a radio problem (this page); an app that stopped is Wi-Fi credentials, account auth or a cloud outage. Diagnose them separately — one failing says nothing about the other.
Guest access done right
App-based temporary access beats sharing keypad codes for one-time visitors — revocable, logged, and no code to rotate afterwards. Keypads remain better for daily no-phone users.
After a router change
New SSID or password orphans the opener’s Wi-Fi. Re-run the app’s setup flow; the radio side (remotes, keypad, car) is untouched and keeps working throughout.
Remote batteries: which coin cell, and what are the signs?
Half of “broken remotes” are this table. Thirty seconds with the right cell settles it.
| Device | Typical cell | Failure signature |
|---|---|---|
| Visor remotes (modern) | CR2032 | shrinking range, works only near the unit |
| Keychain minis | CR2016 / CR2025 | needs two presses, LED dim |
| Wireless keypads | AAA pair or 9V | accepts code, transmit fails; backlight sag |
| Older large remotes | 9V or A23 12V | sudden death rather than fade |
| Car buttons (HomeLink) | car-powered — none | never the battery; always the pairing |
HomeLink by dashboard era — what changes?
Same two-stage logic, three generations of dashboards.
Older vehicles (pre-touchscreen)
Three physical buttons, usually on the visor or mirror. Hold the outer two to wipe, then hold the handheld remote 1–3 inches away while pressing the target button until the indicator flashes fast — then do the Learn-button stage at the opener.
Touchscreen-era vehicles
HomeLink lives in a settings menu with on-screen prompts, but the physics is identical: teach from the handheld remote first, then complete the rolling-code handshake at the opener’s Learn button within the window.
After an opener replacement
The car did not forget — the new opener has never met it. Skip the car-teaching stage entirely: press the new unit’s Learn button, then the already-programmed car button 2–3 times. Thirty seconds.
Rental and sold cars
Your garage stays in a car’s HomeLink until someone wipes it. Wipe the dashboard (hold the outer buttons ~10s) before selling — and wipe your OPENER’s memory if a car with access leaves your control.
What is rolling code, and why does it change the steps?
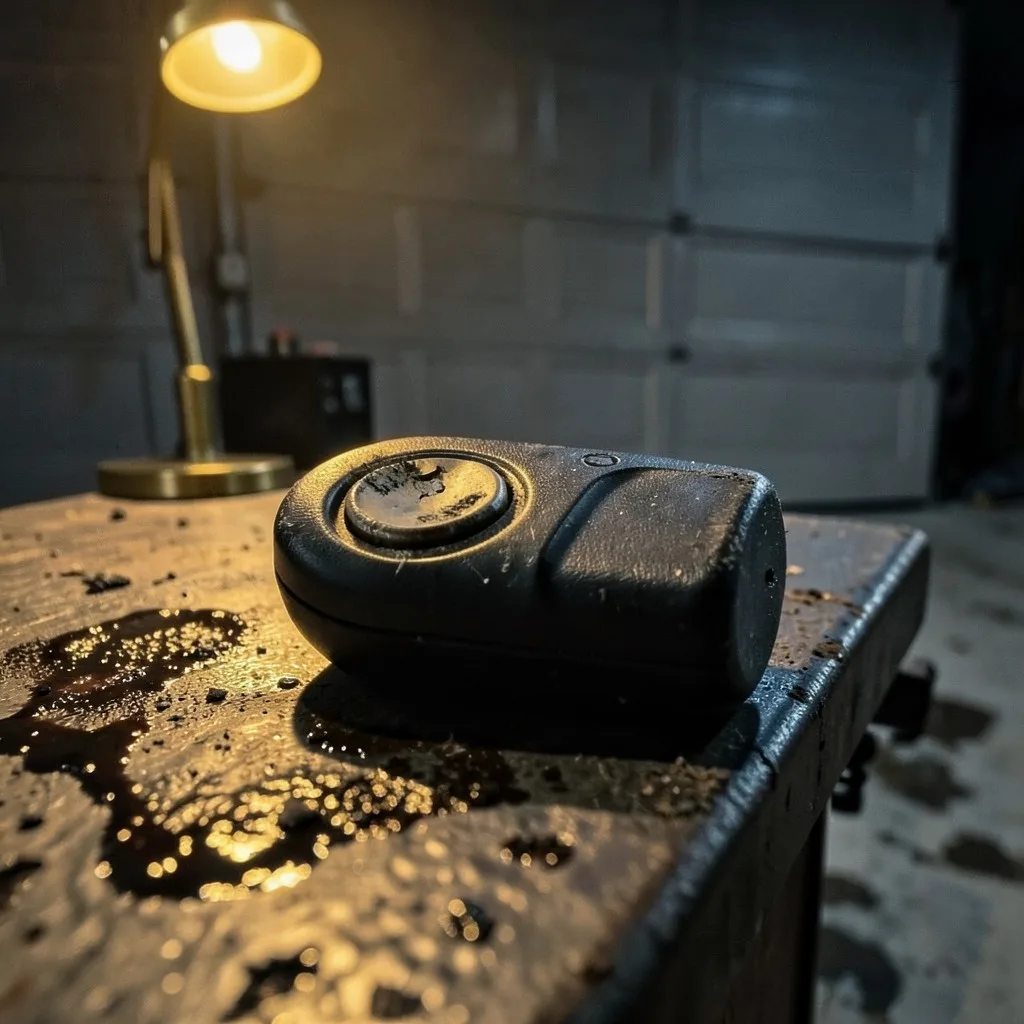
Pre-1993 remotes broadcast one fixed code — set by little DIP switches inside the remote and receiver — which made them trivially copyable by anyone parked outside with a code grabber. Modern openers use rolling code: remote and opener share a cryptographic sequence and hop to a new code on every press, which is why pairing happens at the Learn button (a handshake) instead of by matching switches.
Two practical consequences. First, car buttons must complete BOTH programming stages — teaching the car the remote is not enough; the Learn-button handshake enrolls the car in the rolling sequence. Second, if you still own a DIP-switch opener, no programming guide helps it be secure: it predates the photo-eye safety baseline too, and it belongs in the replacement conversation on both grounds.
Which symptom means which fix?
The programming-adjacent faults, sorted — most are procedure, a few are parts.
| Symptom | Likely cause | Fix class |
|---|---|---|
| One remote dead, others fine | battery or that remote’s pairing | free — battery, re-pair |
| ALL remotes + keypad dead, wall button fine | lock/vacation switch engaged | free — toggle it |
| Works at the door, not the driveway | range: battery, antenna, LED-bulb interference | free — the range trio |
| Pairs, then forgets within days | receiver memory failing | repair — bench/receiver |
| Learn button gives no light at all | board power or button failure | repair — board-level |
| Keypad needs the code twice | keypad battery sagging under transmit load | free — battery |
| Car button worked, stopped after opener swap | stage-two handshake never redone | free — redo Learn pairing |
| New remote will not pair at all | radio-generation mismatch | parts — correct/universal remote |
What does good opener security hygiene look like?
The Learn button is also the security system. Four habits cover it.
Wipe on every transition
Move-in, contractor project wrapped, remote lost, vehicle sold with a programmed HomeLink — each one earns the 6-second hold that clears memory, then a fresh pairing of what you still hold.
Treat the visor remote like a house key
A remote in an unlocked car on the driveway is a key under the mat. Keychain remotes that come inside, or the car’s integrated buttons, close that hole outright.
Rotate the keypad code like a password
Ninety seconds, twice a year, and after any period of shared access. Guest codes (where supported) beat sharing the master with dog-walkers and deliveries.
Vacation switch when you travel
The lock switch exists exactly for the two-week absence: radio inputs dead, wired button live. Flip it on the way out, off when you return — and remember it exists when "everything died at once".
Programming and codes — the questions that matter
Where exactly is the Learn button?
On the motor unit hanging from the ceiling — usually behind the light lens or on the back panel near the antenna wire, a coloured square button (red/orange, purple, yellow or green depending on brand generation). You will typically need a ladder. The colour matters on some brands because it identifies the radio generation, which decides which remotes are compatible.
Why does my new remote not program at all?
Four likely reasons in order: the remote frequency or generation does not match the opener’s radio (the Learn-button colour is the clue on major brands); the Learn window expired — you have roughly 30 seconds after pressing it; the lock/vacation switch on the wall console is engaged, which blocks remote programming on many models; or the remote battery is flat out of the package, which happens more than you would think. If all four check out, the receiver itself may be failing — that is a service visit.
How do I erase remotes after losing one (or moving in)?
Hold the Learn button down for about 6–10 seconds until the indicator LED goes out or blinks — that wipes EVERY paired remote and keypad from memory. Then re-program the devices you still hold, one at a time. This is the single most worthwhile security step after a move, a break-in, a lost visor remote, or a contractor project where remotes floated around.
How do I change the keypad code?
Two paths. If you know the current code: most keypads accept current code + a program key (often # or PROG) + the new code. If you do not know it: wipe everything with the long Learn-button hold, then re-pair the keypad fresh with a new code — enter the code, press ENTER, and press the Learn button within the window. Codes to avoid: house numbers, birth years, 1234, and anything a delivery driver has watched you type.
How do I program the buttons in my car (HomeLink)?
Two stages, and missing the second is the classic failure. Stage one teaches the car the remote’s signal: hold the handheld remote near the car buttons, press both until the car indicator flashes fast. Stage two pairs the car to a rolling-code opener: press the opener’s Learn button, then return to the car and press the programmed button 2–3 times. Rolling-code openers (everything modern) require stage two every time.
What does the lock or vacation switch actually do?
It deliberately disables all remote-control inputs while leaving the wired wall button working — for holidays and long absences. It is also the silent cause of a large share of "all my remotes died at once" calls: the switch gets bumped, every remote and the keypad stop working simultaneously, and the wall button keeps working. Check it before anything else when the failure is everything-at-once.
When is a programming problem actually a repair problem?
When the receiver will not hold codes (pairs, then forgets within days), when range stays collapsed after fresh batteries, a hanging antenna wire and the LED-bulb test, or when the Learn button produces no light response at all. Those are electronics faults, not procedure errors — a licensed pro can bench-test the receiver and board, and on supported models it is an affordable fix rather than a replacement.
Do I have to reprogram everything after changing the opener battery backup or a power cut?
Almost never — pairing memory lives in non-volatile storage and survives outages, battery swaps and unplugging. What CAN scramble is travel calibration on some models (they relearn on the next cycles) and clocks/timers on feature-heavy units. If a remote genuinely stopped after a power event, suspect its own coin cell before the opener: the timing is usually coincidence.
Can one remote control two different openers?
Yes — multi-button remotes pair each button independently, so button one can run your door and button two the shop or the in-laws’ garage, even across compatible brands within the same radio family. Run the Learn sequence once per button at each opener. The same logic powers car buttons: three HomeLink positions, three independent pairings.